
How to Build Your Outdoor Decking
Before starting a garden decking project it is important to have a clear plan: this step by step guide explains all the stages involved in creating the perfect timber deck. Building your own timber deck isn't that difficult, but like any DIY job, it requires the right material and tools and some level of skills.
Preparation and Groundwork
The important details
Check for any drainage problems in the area where you plan to build your deck – these must be resolved before starting. Deck design must maximise airflow through and around the construction to ensure good ventilation.
Carefully mark out the site with builders lines and ensure that it is square. To help create a square deck and determine its overall size, mark out the proposed area using batter boards, pegs and string line. The easiest way to obtain a right-angle is to make a 3'-4'-5' triangle which will give a 90° angle at the corner. Simply measure off a piece of string into 3', 4' and 5' 'unit' lengths with a felt-tipped pen. The units can be in feet or metres, whichever you prefer.
Prepare the site
Removing all turf
Do not lay the deck directly onto grass. Remove all turf and cover the ground with a permeable membrane or black polythene. Place gravel on top of this to prevent weeds from growing. If polythene is used, pierce a series of holes in it to allow drainage of any surface water. The finished deck must be at least 2 brick courses below the damp course level if attached to the house. If this is not practical, a gap must be left between the house and deck to aid drainage.
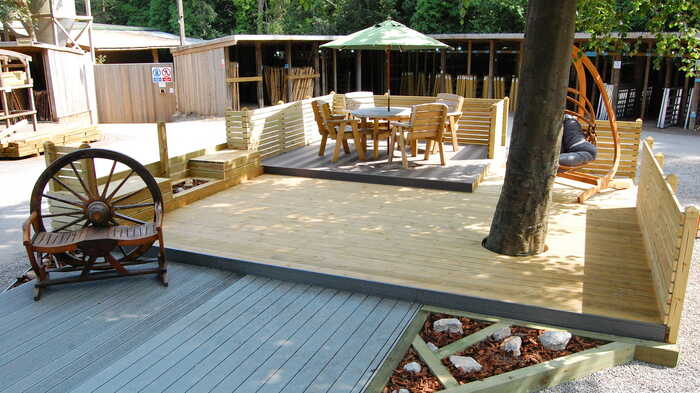
Ground-level deck
Creating platform
A ground-level deck is simply a platform on the ground which is laid onto a level surface. If you are laying your deck on an existing level concrete area, the framing can be placed directly onto this. If you are laying your deck on a non-concrete surface, such as grass or clay, lay the framing on patio slabs for additional stability. It is important that the slabs are laid on either well-compacted ground or virgin soil. The frame is constructed using 150 x 47mm or 100 x 47 decking joist timbers. These should be fixed using galvanised nails. Joists should be fixed at 400mm centres for maximum support. These can be fixed with joist hangers or galvanised nails.
Raised/elevated deck
Joist spacing and noggins
Elevated decks can be free-standing or attached to a wall or side of a house. A qualified decking professional should be contacted for projects over 600mm. Structural posts of 100 x 100 should be used for raised/elevated decks.
At least quarter the length of the post should be sunk into the ground and then fixed with concrete or alternatively concrete feet and dry cement can be used.
Decking Joist Spacing
Decking joists should be spaced at 400mm centres. Structural posts should be positioned no more than 1800mm apart. Use a joist and spirit level to mark the ledger height at the wall. Joists are attached to the ledger or double beam with galvanised joist hangers. Place a scrap piece of decking joist material in the joist hanger to set the width and then nail or screw the joist hanger on the inside of each double beam every 400mm. Place the joist inside the hanger, and nail or screw through the hanger into the joist.
Decking Noggins
Noggins are used to keep the joists from twisting or buckling. Measure and square-cut noggins to fit snugly between the joists. Attach these in a brick work effect at 1200 centres.
Decking tape
For joist protection
High-quality decking tape is essential for protecting joists from moisture. It prolongs the lifespan of your deck by preventing wood rot and decay, ensuring your deck remains sturdy and safe over time. Applying decking tape is simple and straightforward. Cut the tape to the required length and press it firmly onto the tops of the joists. This ensures a tight seal, effectively keeping water out and protecting the wood beneath. Using decking tape enhances the durability of your deck, ensuring it stays in great condition for years and reducing maintenance needs.
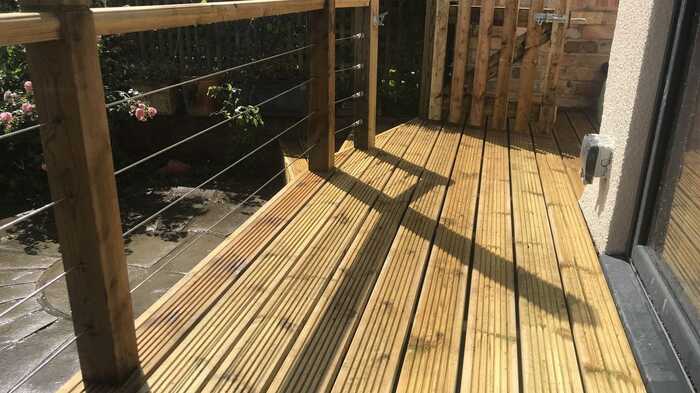
Fixing decking boards
Evenly spaced with good drainage
Deck boards should be pre-drilled before screwing to avoid splitting. They should be evenly fixed and slightly spaced to ensure that there is adequate drainage and ventilation and fixed at right angles to the joists. Decking boards can overhang the edge of the joists at the end or can be trimmed flush with the joints. A fascia board can be added for a more decorative finish.
All cut ends, notches and drill holes must be brushed with an End Coat preservative to maintain the integrity of the pressure treatment and to seal the deck material again.
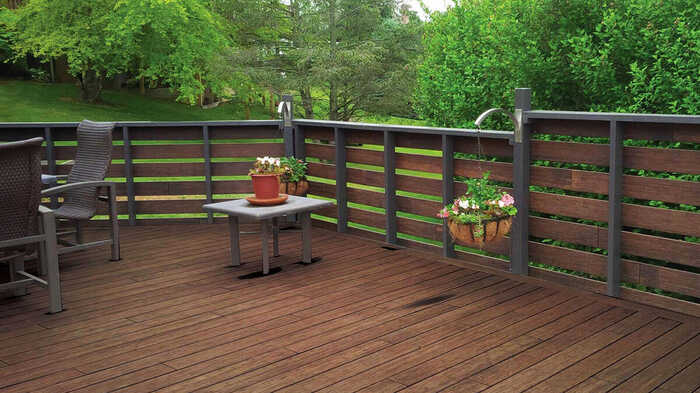
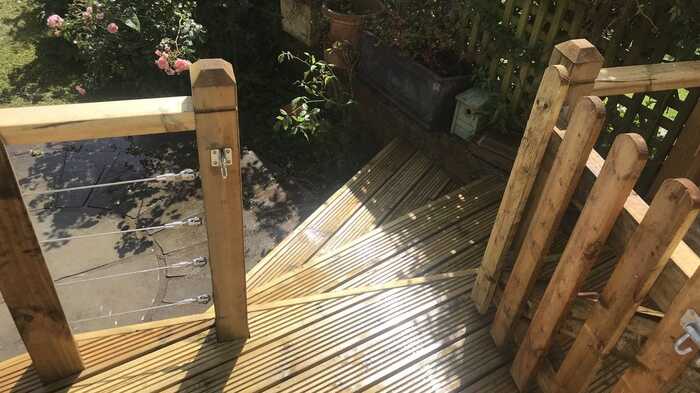
Fixing balustrading and newel posts
Finishing off ground-level decks
The balustrading for your decking should be assembled and fixed to joists before installing deck boards. Balustrading can finish off ground-level decks and must be used on all elevated decks for safety. Building regulations state that balustrading must be 1.1 metres high or above on elevated decks. The maximum recommended length of rails between posts is 1.8 metres. Additional newel posts must be used for longer railing.
Four very popular types of spindle are usually used the Square, Chamfered, Colonial and American and each of them can be installed using a universal hand/base rail shown here. The spindles are held in place simply by fixing the infill strips between each spindle in both the top and bottom rails.
The Colonial and American range can also be installed using the Richard Burbidge installation system. Full details can be found on their website here.
Meanwhile, newel posts are fixed to joists using 100mm landscape screws. If possible, fix the newels so that two faces can be secured through two joists at 90' to each other.
Fitting steps
Finishing touches
The stair strings should be positioned at right angles to the deck. The base of the string may need to be cut at an appropriate angle to allow it to sit firmly on the ground, preferably on a solid area. The strings should be set at a maximum distance of 400mm centres. Fix these using galvanised brackets or joist hangers.
The treads should then be fixed through the top face of the deck board using 63mm screws. Treads are made by cutting deck boards to length. Allow 30mm to overhang each string. All cut ends should be treated with end grain preservative.
Treatment of timber decks
Updates from the British Standards Institute
The 2024 edition of BS8417, a wood preservation code, will be released by the British Standards Institute next month. This update mandates higher preservative levels for softwood timber used in deck substructures, enhancing protection to Use Class 4 for components like beams and joists. This change addresses the risk of wood rotting fungi, improving the safety and longevity of deck installations. The new requirements apply to all substructure components, even if not in contact with the ground.
How can we help?
As ever, the information and advice in this article is provided in good faith and is designed to give general information and guidance. Any reliance you place on such information is therefore strictly at your own risk. If in doubt we strongly recommend you seek professional assistance.
If you need further advice with your purchase please ask our experienced staff, we will be happy to help!